Migracja lub przywracanie systemu
Migracja lub przywracanie systemu z backupu odbywa się w kilku krokach. By mieć pewność, że wykonujesz ją poprawnie, zapoznaj się z artykułem poniżej.
Prezentacja wideo
- 🎬 YouTube
- 🎥 YetiForce TV
Wgraj pliki do katalogu web root
Najlepiej rozpakować pliki bezpośrednio na serwerze, dzięki temu będą zachowane oryginalne uprawnienia na plikach.
Jeżeli masz oddzielną kopię katalogu storage, tak jak w przypadku Chmury (YetiForce Cloud), to należy rozpakować kopię zapasową do katalogu __YETIFORCE_PATH__/storage tak, aby w tym katalogu nie było katalogu storage, tylko katalogi z danymi https://github.com/YetiForceCompany/YetiForceCRM/tree/developer/storage
Aby prawidłowo przenieść system na inny serwer, powinieneś wykonać pełną kopię systemu (pliki i baza danych). Najlepiej spakować programem do kompresji danych np.
zip -r `date +"%Y%m%d_%H%M"`.zip __YETIFORCE_PATH__ -q
tar -zcvf /var/www/html/`date +"%Y%m%d_%H%M"`.tar.gz /var/www/html/
Podczas przenoszenia lub przywracania systemu nie może wystąpić żaden błąd, ponieważ później może okazać sie, że baza jest niekompletna.
Wgraj bazę danych
Bazę danych wgrywamy za pomocą konsoli CLI (zalecane) lub klienta bazodanowego np. DBeaver, Database Workbench , SQLyog
mysql -P 3306 -h 127.0.0.1 -u yetiforce -p yetiforce < dump.sql
Aktualizacja plików konfiguracyjnych
Po wgraniu plików i zaimportowaniu bazy danych zaktualizuj następujące pliki:
/** Ukośnik odwrotny jest wymagany na końcu adresu URL */
public static $site_URL = 'https://example.yetiforce.cloud/';
/** Gets the database server */
public static $db_server = 'localhost';
/** Gets the database port */
public static $db_port = '3306';
/** Gets the database user name */
public static $db_username = 'root';
/** Gets the database password */
public static $db_password = '';
/** Gets the database name */
public static $db_name = 'yetiforce';
Warto też sprawdzić następujące parametry:
/** Restricted domains */
public static $EMAIL_FIELD_RESTRICTED_DOMAINS_VALUES = ['yetiforce.com','github.com'];

/** Allowed domains for loading images, used in CSP. */
public static $allowedImageDomains = [];

/** Generally allowed domains, used in CSP. */
public static $generallyAllowedDomains = ['yetiforce.com', 'github.com'];

/** List of allowed domains for fields with HTML support */
public static $purifierAllowedDomains = ['yetiforce.com', 'github.com'];
Sprawdź, czy wymuszanie HTTPS jest włączone. Mogą wystąpić problemy, jeśli HTTPS był na starym serwerze i przekierowanie zostało włączone, a nowy serwer nie ma aktywnego HTTPS.
/** Force site access to always occur under SSL (https) for selected areas. You will not be able to access selected areas under non-ssl. Note, you must have SSL enabled on your server to utilise this option. */
public static $forceHttpsRedirection = false;
Sprawdź czy jest skonfigurowana komunikacja przez proxy
/** Proxy protocol: http, https, tcp */
public static $proxyProtocol = '';

/** Proxy host */
public static $proxyHost = '';

/** Proxy port */
public static $proxyPort = 0;

/** Proxy login */
public static $proxyLogin = '';

/** Proxy password */
public static $proxyPassword = '';
Jeśli na serwerze mamy dostępny katalog dla kopii zapasowej, to możemy go włączyć (może to wymagać konfiguracji uprawnień do plików)
/** Backup catalog path. */
public static $BACKUP_PATH = '';
Zweryfikuj czy konfiguracja zgadza się z wymaganiami
Zawsze po przeniesieniu systemu na nowy serwer, przywróceniu z backupu lub aktualizacji serwera LAMP uruchom weryfikację konfiguracji serwera zgodnie z wymaganiami z wbudowanego narzędzia do weryfikacji konfiguracji (Dokumentacja Administratora → Logi → Serwer - konfiguracja) lub w artykule Wymagania YetiForce.
Jeśli serwer nie spełnia wymogów, nie należy z niego korzystać, ponieważ może to powodować utratę danych. Jeśli jakieś parametry widnieją na żółto lub czerwono, to należy je poprawić.
Ważnym jest również to, aby właścicielem plików był ten sam użytkownik na którym działa serwer www (apache, nginx).
CRON
Uruchom i zweryfikuj działanie CRON-a
Zarejestruj ponownie system
Przeniesienie na nowy serwer lub przywrócenie z backupu wymaga ponownej rejestracji systemu.
Aktualizacja dodatków
Niektóre dodatki mogą wymagać ponownej konfiguracji podczas zmiany lokalizacji lub adresu systemu YetiForce np. System settings → Integration → Mail integration panel.
YetiForce Outlook Integration Panel
Wymaga ponownej reinstalacji i zainstalowania nowego pliku XML.
Stary dodatek zainstalowany w Outlook należy usunąć, pobrać nowy plik XML z panelu systemu YetiForce zgodnie z instrukcją Dodatek typu add-in do programu Outlook.
Tworzenie środowiska testowego
Jeżeli tworzymy środowisko testowe warto jest wprowadzić kilka istotnych zmian które pomogą nam w rozróżnieniu i bezpieczeństwie środowisk.
Zmienić hasła użytkowników
Wizualne odróżnienie środowisk
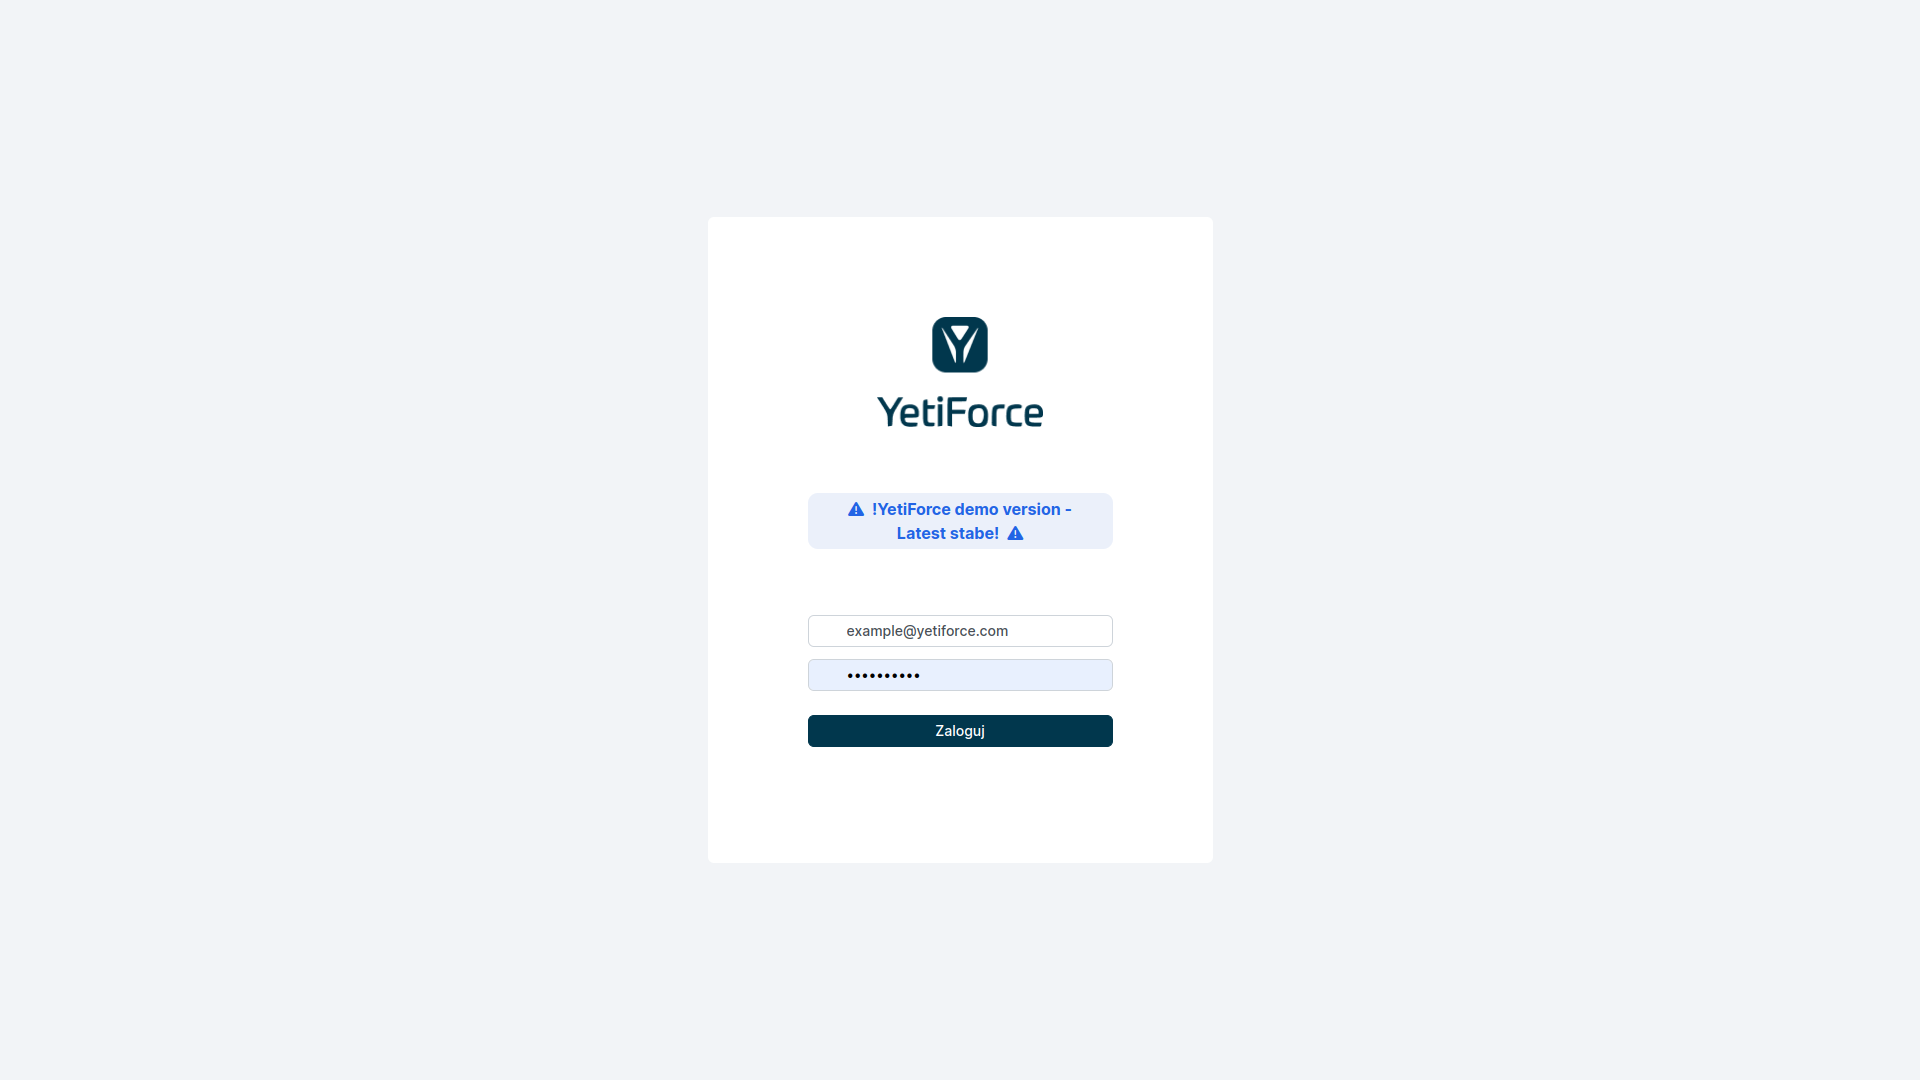
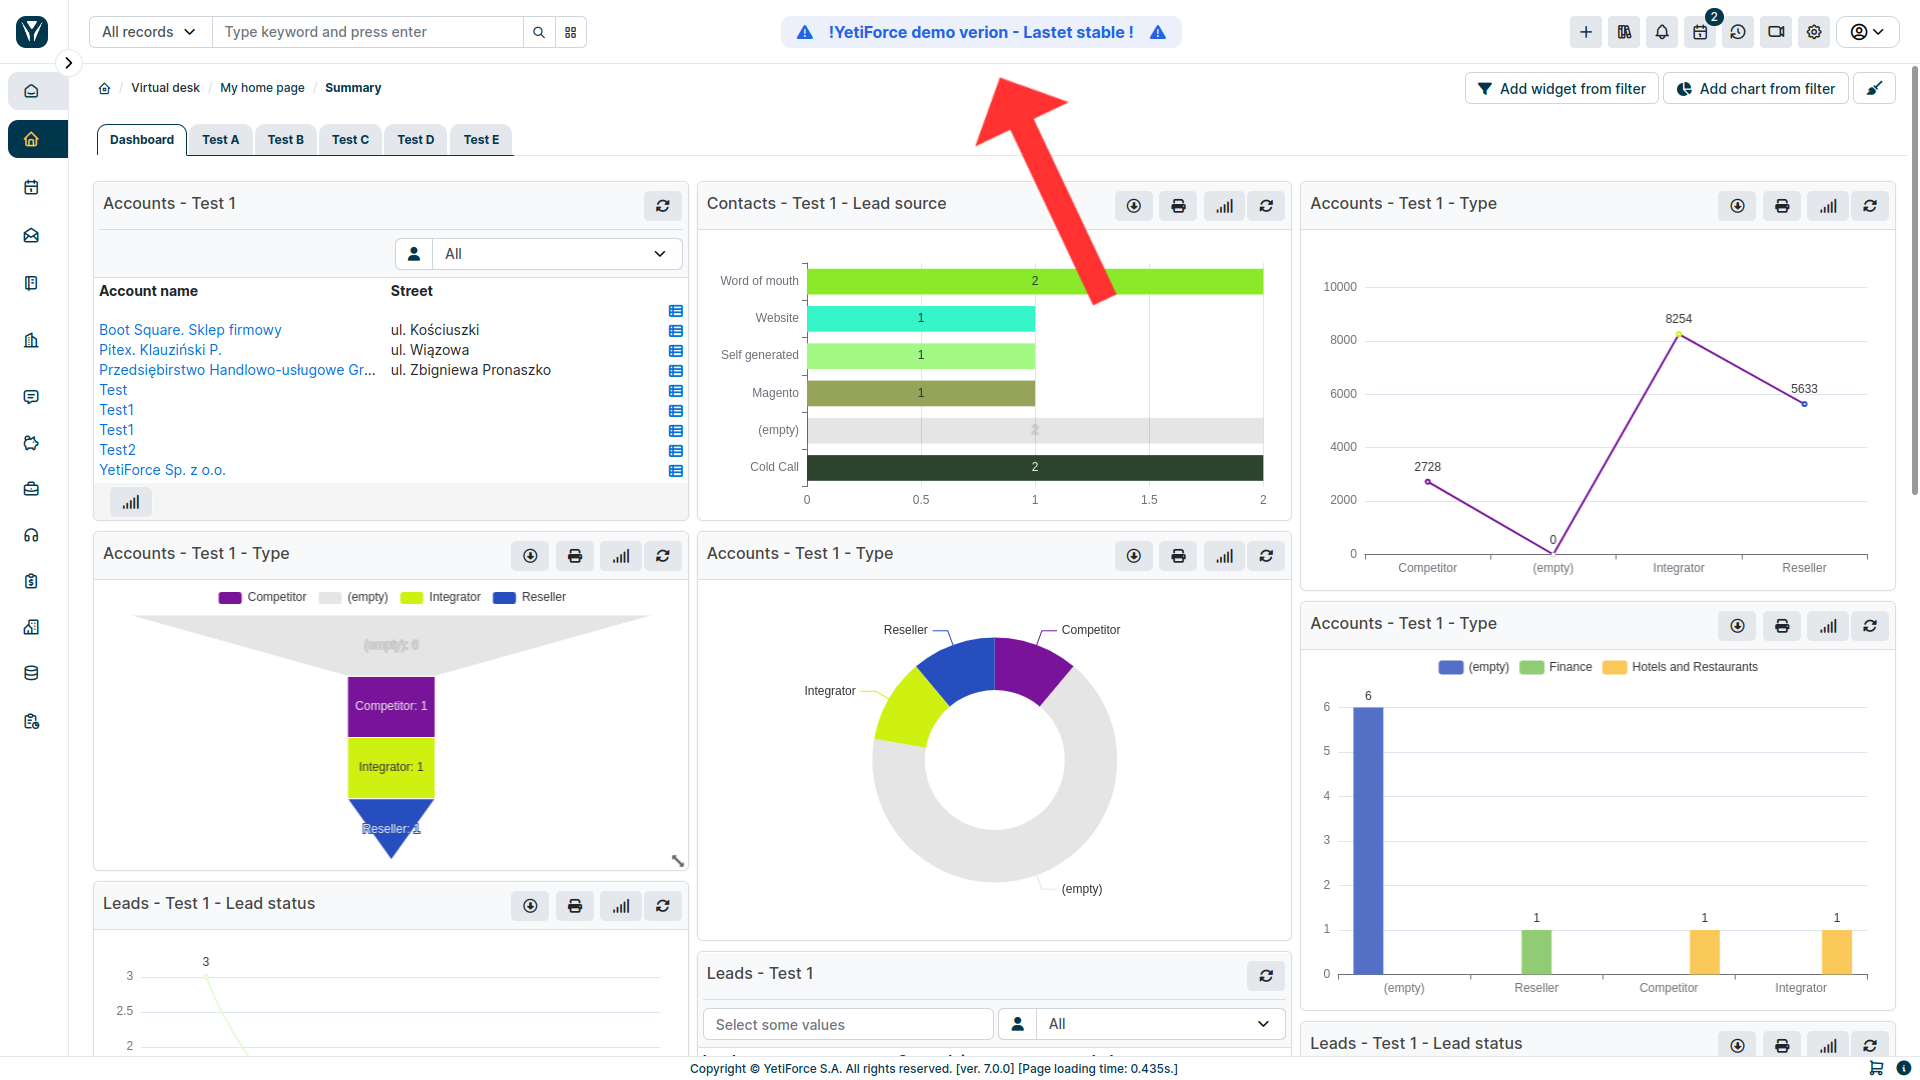
Warto jest dodać komunikat o tym że jest to środowiska testowe, można to zrobić na stronie logowania oraz na górnej belce systemu.
Od wersji 6.2 można dodać do pliku konfiguracyjnego config/Main.php kilka dodatkowych wiadomości.
/** Header alert message */
public static $headerAlertMessage = '';

/** Header alert type, ex. alert-primary, alert-danger, alert-warning, alert-info */
public static $headerAlertType = '';

/** Header alert icon, ex.  fas fa-exclamation-triangle, fas fa-exclamation-circle, fas fa-exclamation, far fa-question-circle, fas fa-info-circle */
public static $headerAlertIcon = '';

/** Login page alert message */
public static $loginPageAlertMessage = '';

/** Login page alert type, ex. alert-primary, alert-danger, alert-warning, alert-info */
public static $loginPageAlertType = '';

/** Login page alert icon, ex.  fas fa-exclamation-triangle, fas fa-exclamation-circle, fas fa-exclamation, far fa-question-circle, fas fa-info-circle */
public static $loginPageAlertIcon = '';


Zmienić nazwę nadawcy w SMTP lub wyłączyć zadanie CRON-a wysyłające maile
Wiadomości wysyłane z nowego środowiska będą wyglądały identycznie jak z produkcyjnego, dlatego warto wyłączyć wysyłanie wiadomości mail lub zmienić nazwy nadawców w SMTP aby umieć odróżnić wiadomości mailowe.
Panel: Konfiguracja systemu → Automatyzacja → CRON
Zmienić klucze API
Warto zmienić dane dostępowe do API, aby były inne na każdym z środowisk. Aby przypadkiem ktoś mając dostęp do wersji testowej nie próbował uzyskać danych z wersji produkcyjnej.
Panel: Konfiguracja systemu → Integracja → Web service - Aplikacje